Mac Outlook OLM to Office 365 Migrations
PDS OLM Converter proper working then necessary that all of it should be fulfilled requirements. In the below mentioned section, we have provided a list of requirements that a user has to accomplish in order to achieve the desired results.
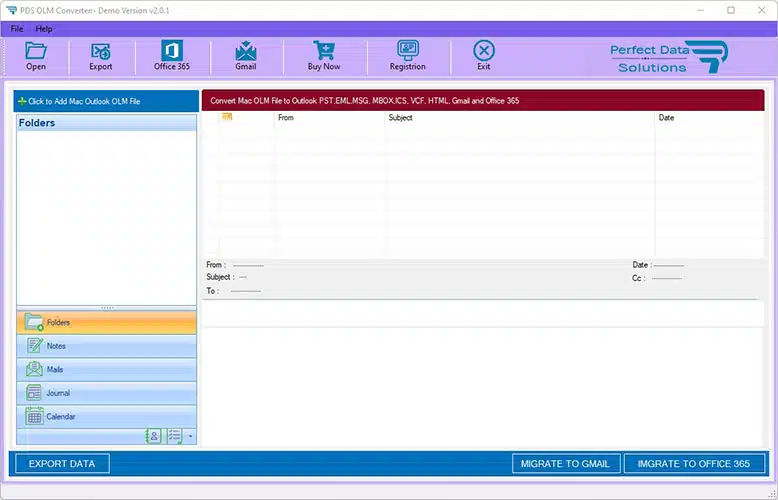
STEP 1 : Launch PDS OLM Converter.
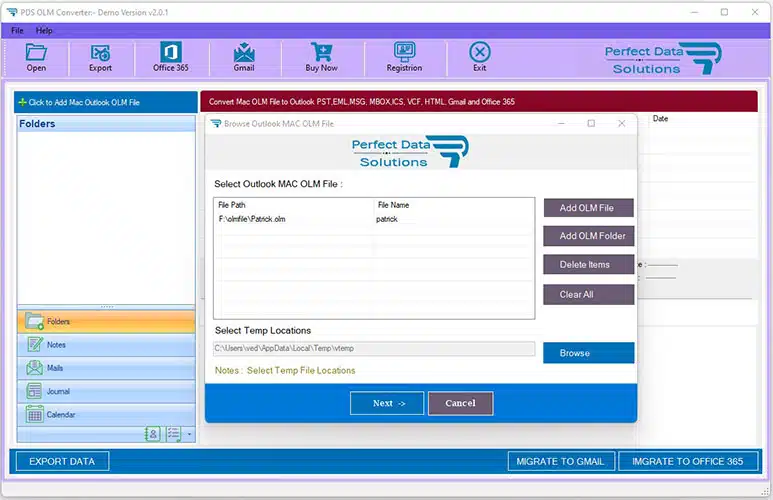
STEP 2 : Click Select Mac Outlook OLM on Open Dialog. Add File and Folder select to Mac Outlook OLM file for conversion. Click Add File if you know location of the OLM file. Or, click Add Folder to search the OLM if its location is unknown.
STEP 3 : Next, Click Convert to initiate OLM conversion process. The software is converting the OLM file. The estimated conversion duration depends upon the size of Outlook PST File.

STEP 4 : After conversion is completed, the software previews the Outlook OLM mailbox folders in the Left pane. You can Browse and Select mailbox items by selecting individual folders.

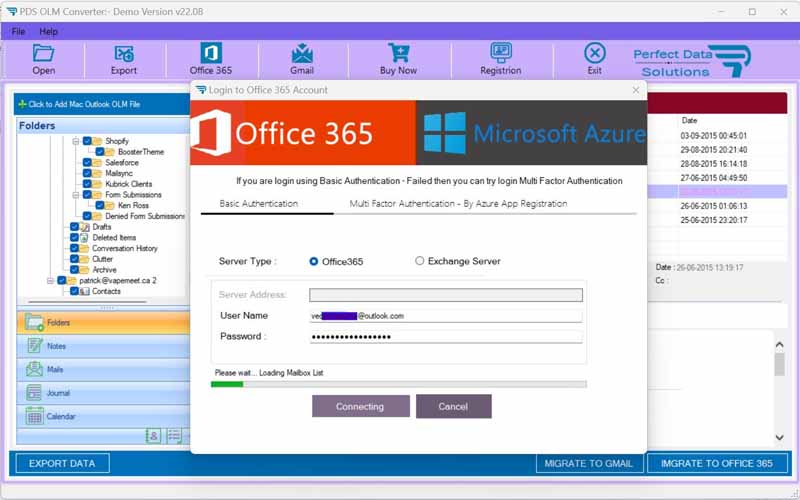
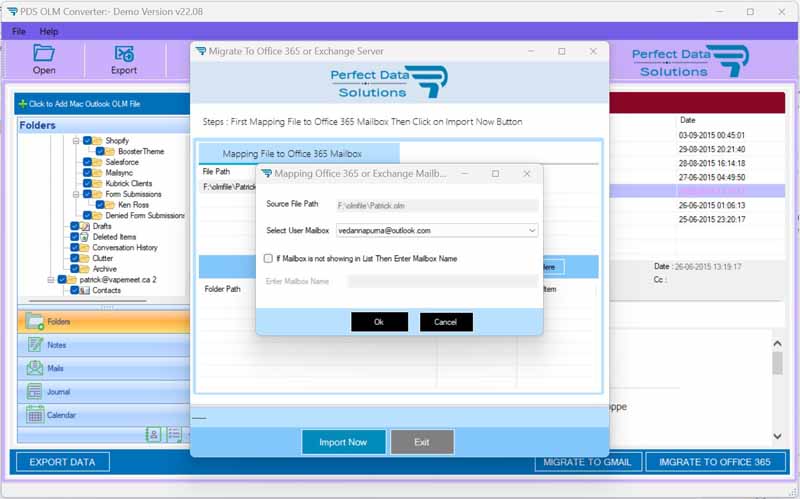
STEP 5 : Login to Office 365 Mailbox User Or Admin User
STEP 6 : Mapping Outlook OLM File to Office 365 Mailbox - If Mialbox is not exist in list then Mannually Enter Mailbox Name
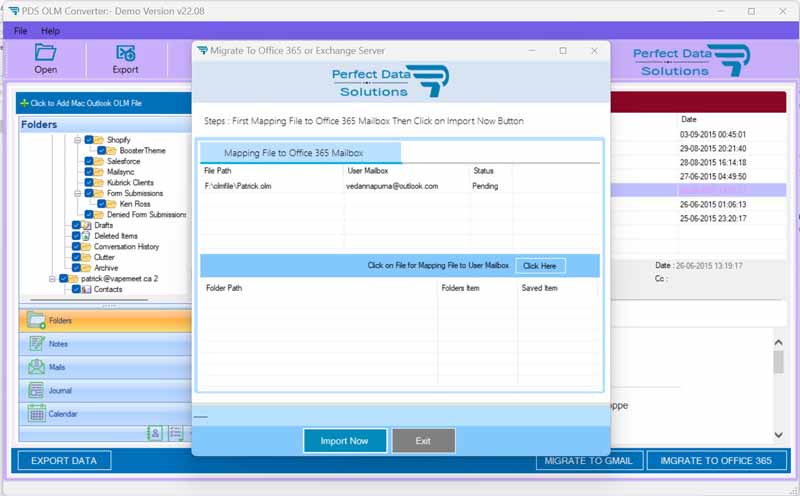
STEP 6 : Preview Outlook OLM File and Office 365 Mailbox Mapping List
STEP 6 : Running Outlook OLM to Office 365 Process

How to Works - Convert into PST How to Works - Gmail Migrations